TeamSpeak 3 is a VoIP software widely used by teams/guild/regions in online games and other MMORPGs. It is very useful for meetings, organizing attacks, asking for villages, resources or just chatting. So as I want to hear from you and as it is part of the rules of the past house on TS for recruitment I make you this little Tuto.
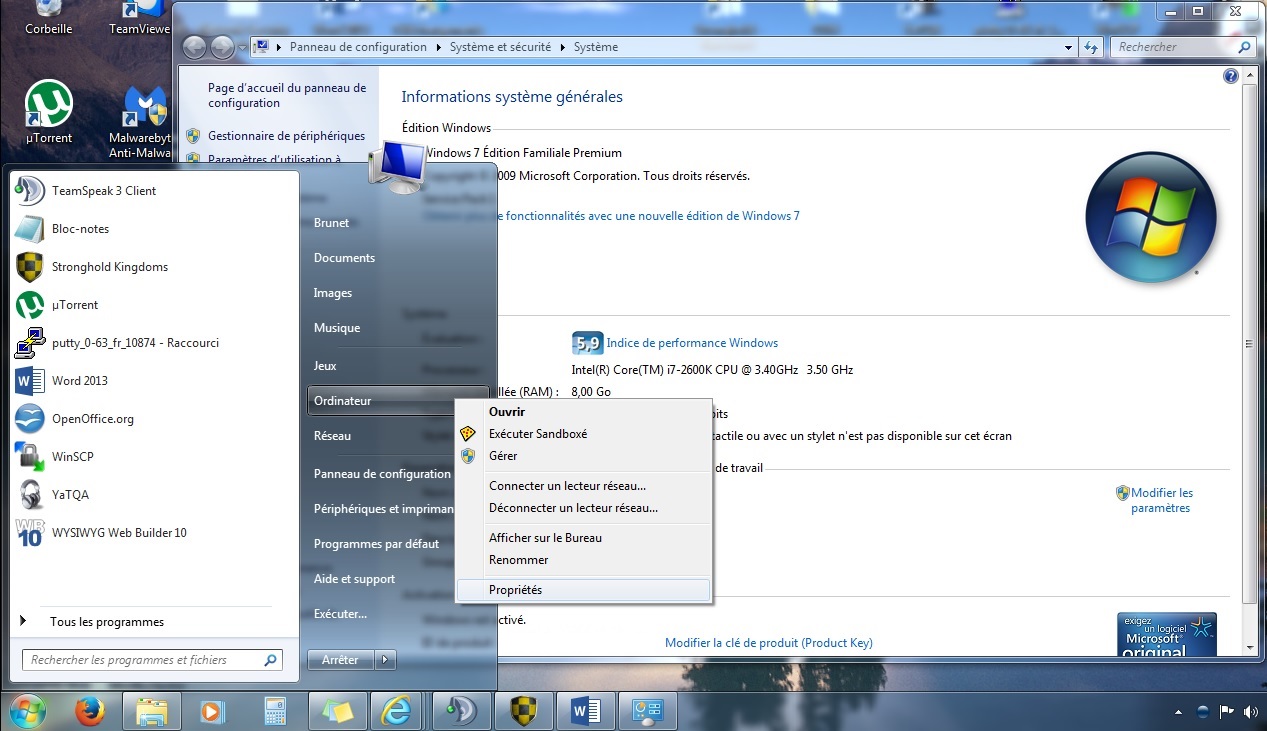
You'll need to determine your version of Windows. To determine the 32 or 64 bit version of your operating system (for Windows 7), click on the Start menu at the bottom left and then on "Computer". Then right-click in the window and click on "Properties".
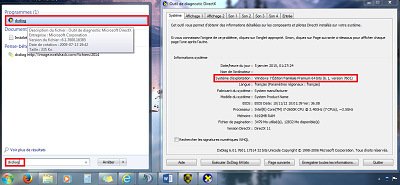
Another way is to write dxdiagin the bar (search or run depending on your Windows version) and run the program
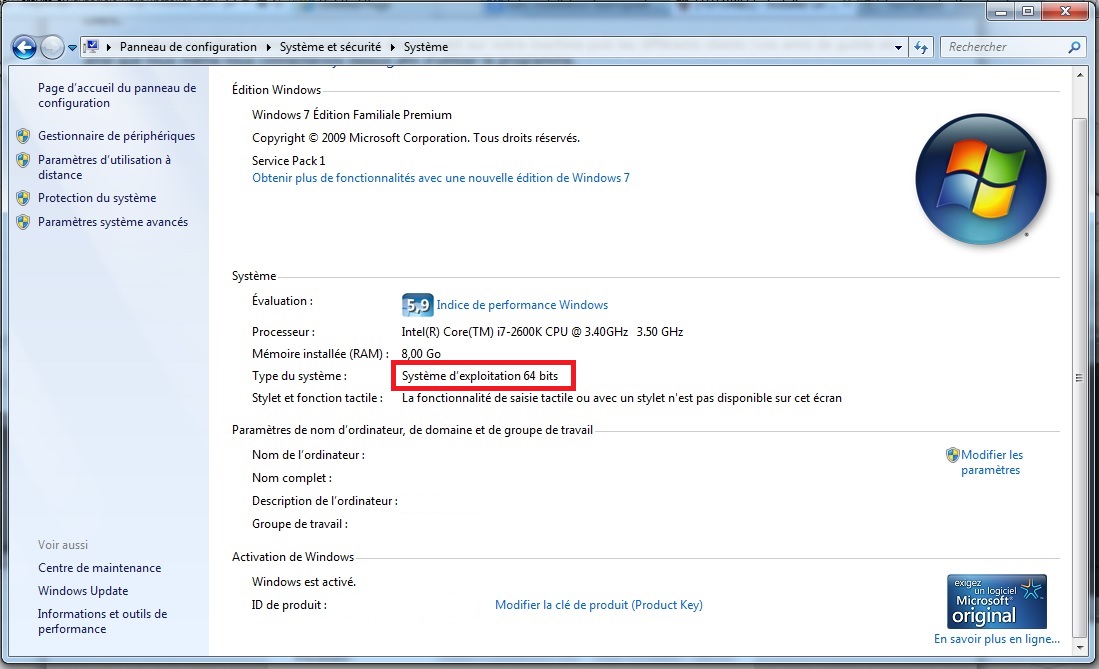
You can see that here we use a 64-bit operating system.
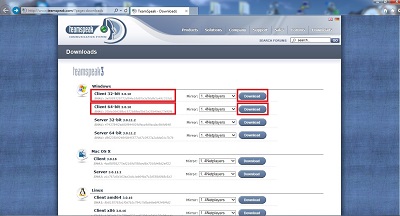
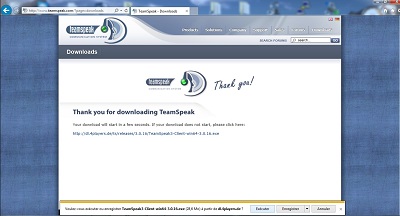
In a second step, we will start by downloading the teamSpeak 3 client program. To do so, please go to the download page given above.
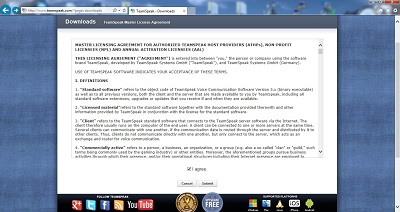
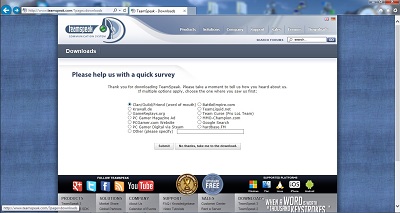
Download the version that corresponds to your operating system. You will have to accept the different conditions of use.
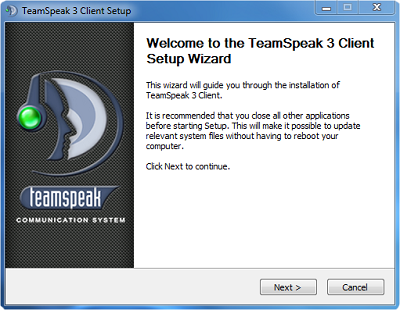
Double-click it to start the installation process.
STEP 1: Click on "Next" to begin installation
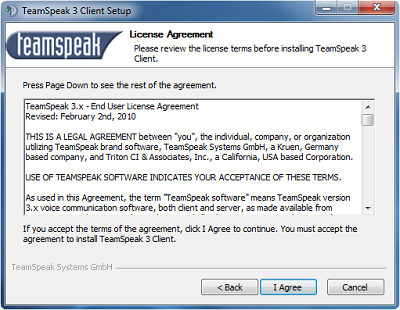
STEP 2: Click on "I agree" to accept the terms of use
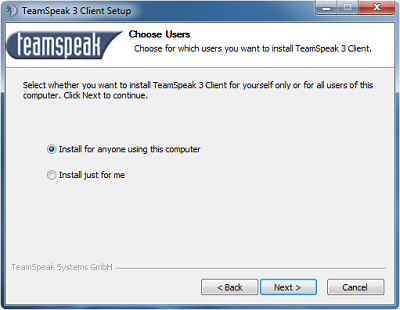
STEP 3: Choose the permissions of use then click on "Next".
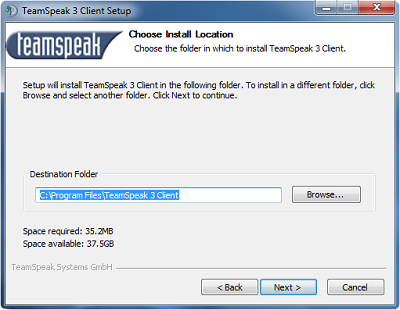
STEP 4: Choose the location of the program on the disk then click "Next".
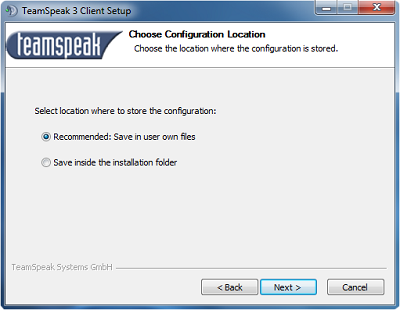
STEP 5: Choose how to back up the client configuration files and click "Next".
STEP 6: Choose the folder name from the Start menu and click "Next".
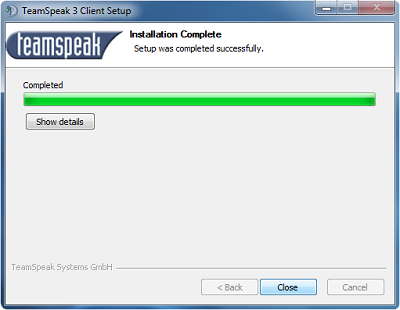
STEP 7: Click "Close" to complete the installation of the TeamSpeak 3 Client.
The client installation is now complete. You can now launch the program thanks to the TeamSpeak 3 shortcut that has slipped onto your desktop.
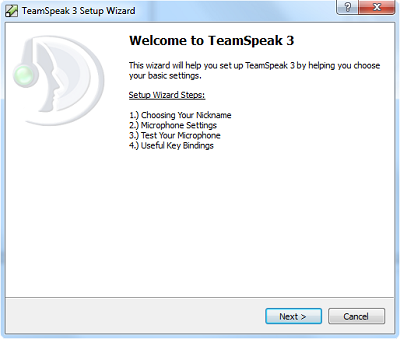
As this is the first time we are using the TeamSpeak 3 client, we will have to configure different things like the microphone. Again, you are guided through the process.
STEP 1: You will arrive at the TeamSpeak 3 home screen. Click "Next" to begin configuring your client.
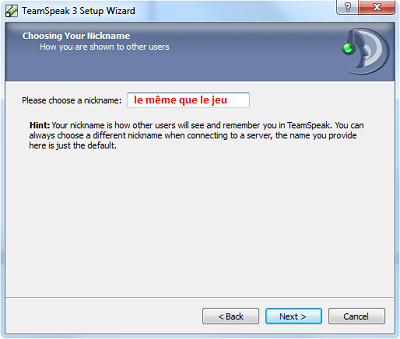
STEP 2: You will have to choose a nickname that will be visible to other users on the server. (Specify the same as the game)This one is not definitive and you will be able to change it each time you connect to a server.
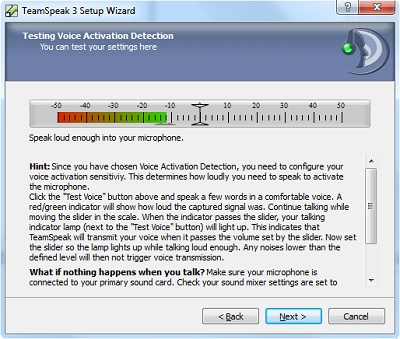
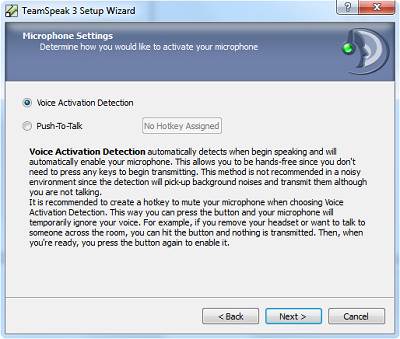
STEP 3: You will now have to choose the microphone activation mode.
"Voice Activation Detection" allows automatic detection of your voice when you speak, leaving your hands free.
Push-to-Talk" allows you to assign a key that must be pressed before you can speak. This allows you to be very precise and communicate only when you want to talk. It is also very useful in a noisy environment.
In our installation below, we will use "Voice Activation Detection" for convenience.
STEP 4: Here you will need to configure your microphone. On the one hand you will be able to see if it is well activated or not as well as to adjust its sensitivity level.
If your microphone is not available, you will need to go to the Windows Control Panel to change your sound settings and configure your microphone there. If you wish to use a different configuration, simply skip this step and use the options in TeamSpeak 3 to set it up correctly. Note that if you do not have a microphone, you will still be able to hear the other participants but you will not be able to talk to them.
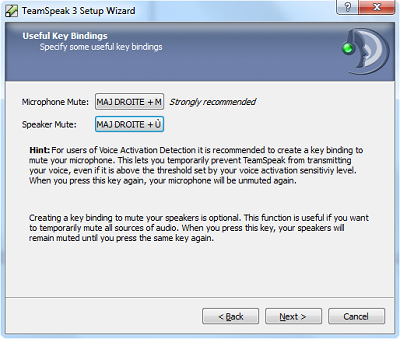
STEP 5: Finally, you will choose two keys or key combinations to mute the microphone and headphones. You may choose not to configure these two functions if you wish.
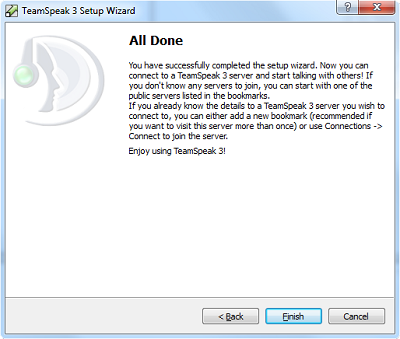
STEP 6: You're done! Simply click "Finish" to exit the configuration guide.
STEP 7: Choose how to back up the client configuration files and click "Next".
STEP 8: Choose the folder name from the Start menu and click "Next".
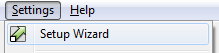
Note that if you want to restart the guide (you made a mistake or something else you want to change), you can do so by clicking as in the image :
To connect to the server, click at the top of the menu as shown in the image or use the shortcut "CTRL + S".
You will arrive at the connection interface :
You can see that "Nickname" is already filled in with the nickname you entered during the configuration guide. You can always change it and enter the nickname of your choice.
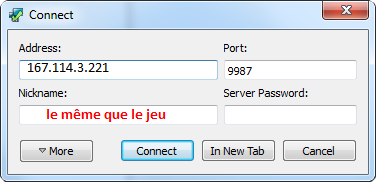
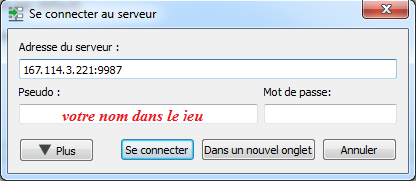
To log in, you will have to fill in the fields as in one of these windows below :
To log in, you will have to fill in the fields as in one of the above windows:
- Example Address: "lafedm2h6.com:9987" or "167.114.153.210:9987" whether the window style is with the Port or not -Port: 9987(this is the default port) -Server Password: (leave blank or fill in with the one you were given)
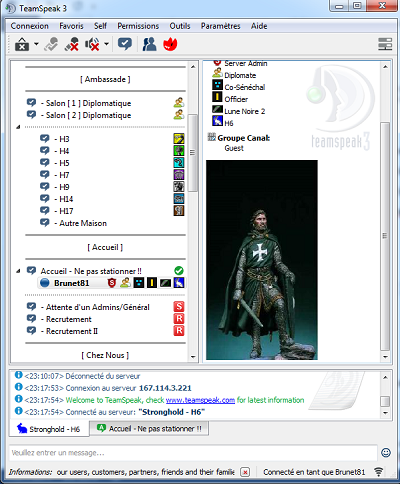
If all goes well, you should come up with something like this:
All you have to do is to place yourself in the Pending Admin/General channel by double-clicking on the name of the chanel to be given the appropriate rights
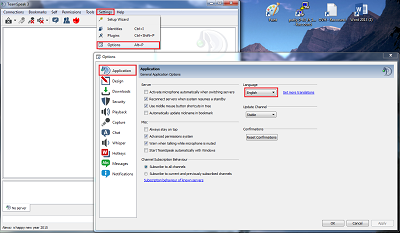
Since many people want it in another language, that's how you go from English to... Go to: Settings + Options then we go to (General or Application) in Language selected your language, restarted once again and voilŕ it's in your preferred language
This site was basically made to get a FREE license of TeamSpeak Alor, if you need a TS for your house, faction or guild, contact me and if I have places available, it will be my pleasure to provide you one.